
We may earn a commission from links on this page.
For some reason, I have painted a lot of stairs in my time. Exterior, interior—I’ve painted more stairs than I ever imagined I would. But sometimes, painting stairs is the easiest way to transform them. When my wife and I moved into our house, the stairs were covered in this truly awful green carpet. We tore that up almost immediately, and I figured I’d just paint the stairs as a short-term solution. But we wound up actually liking the paint, and just left it there.
It’s getting a little worn, though, so it’s time to refresh the paint job, and we thought it was a good idea to change things up by painting the risers a lighter color, for contrast (we’re fancy like that). This gave me the chance to use one of my favorite little painting hacks: A wall edging pad on stair risers. I forget who showed this to me, but it makes the whole process a lot faster. In the past, painting something like stairs with all those angles and corners would mean a metric ton of painter’s tape and a stiff wrist from using a cut brush. (I’m pretty good with a cut brush these days and skip a lot of taping, but stairs still present a challenge.) But using a wall edging pad means I can skip all the tape and save my wrist a lot of strain.
Everything you need to paint stairs
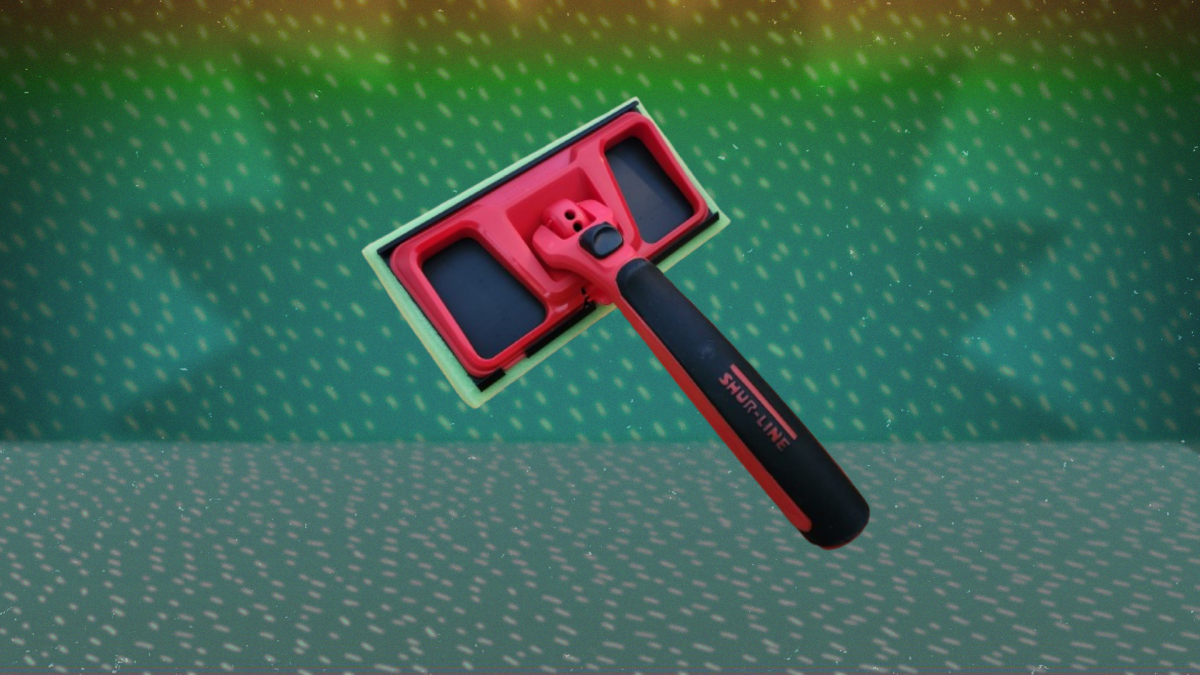
Shur-Line 2006649 7-Inch Premium Pad Painter
Shur-Line 2006645 7-Inch Premium Pad Painter Refill

DAP Alex Ultra Advanced Latex Sealant, White, 10.1 Oz (7079818200)
$7.98
at Amazon
$9.46
Save $1.48

$7.98
at Amazon
$9.46
Save $1.48
FrogTape Advanced Painters Tape, 2 Inch Wide (1.88-Inch x 45-Yard) Multi-Surface Tape with PAINTBLOCK, Conforms Around Curves & Contours, Tear-Free Removability, 1 Roll, Green

Purdy Clearcut Glide Paint Brush, 2-1/2 in. 144152125
$14.98
at Amazon
$16.25
Save $1.27

$14.98
at Amazon
$16.25
Save $1.27
RUST-OLEUM 1 qt Zinsser 271009 White Zinsser, B-I-N Advanced Synthetic Shellac Primer Pack of 1

Bates- 9 Inch Paint Tray, 3 Pack, Black Plastic Paint Roller Tray 9 Inch, Deep Capacity, Textured Ridge

You can see here what the stairs looked like before I began—obviously, they needed a little attention.

Before.
Credit: Jeff Somers
I gathered my supplies:
-
I bought this pad painter from Shur-Line. The 7-inch size is about right for stair risers, and it features a swivel pad holder that locks into the angle you need. I picked up a refill pad, too, just in case.
-
A tube of painter’s caulk so I could fill in any gaps that have opened up over the years.
-
Some painter’s tape, just to be safe—even the best painting trick sometimes runs into trouble.
-
Some cut brushes for the same reason—these are old stairs that haven’t seen a 90° angle in years, so I anticipated some spots where a brush might be necessary.
-
Primer and a paint tray—the actual paint color will match the walls.
Equipped with everything, I got to work.
How to paint your stair risers with an edging pad
I didn’t bother taping off the treads—I just filled the pan with primer and grabbed the pad. The black button in the middle locks the pad at whatever angle you need; it’s easy to press it with your thumb to adjust on the fly. You can slide the pad out (and a new one in) by pressing the lock tab in the middle. Then you dip the pad into the paint/primer and press it out a bit to get rid of excess paint:

Loading up the paint pad.
Credit: Jeff Somers
When the pad isn’t dripping, and you’ve got it loaded with a manageable amount of paint that you can control, just place it against the stair riser and move it horizontally:
What do you think so far?

Painting the riser with the paint pad.
Credit: Jeff Somers
Since the pad is rectangular, it produces a straight, sharp line without taping or cutting, and it doesn’t have as many lines as a brush. And since it’s flat and designed to be used as an edger (and painting stair risers is essentially just working all edges), you can get right to the edge, which you can’t do when using a roller. Sometimes it’s useful to slide the pad out of the holder and use it manually, because the pad is more flexible and bendy, so you can have a little more control in tight corners.
It takes a bit of practice to get it right, but once you have the hang of it, you can breeze through those risers very quickly. If you want to cut down your prep and painting time on stairs, using an edger pad like this is the way. Here’s my final product:

After!
Credit: Jeff Somers
The stairs are old and don’t have any straight lines left, but the risers turned out pretty neat—all without taping. I probably saved myself about an hour of work painting these stairs this way.
