
Pixel phones are known for capturing photos that look natural and close to what your eyes actually see. But sometimes, that clarity can feel a little too real. Bright colors don’t always pop the way you expect them to, and a scene you were excited to capture can end up looking flatter than it felt in the moment. Natural photography is great until it starts looking slightly dull.
So I decided to explore my Pixel 10 Pro’s camera settings more carefully to see if I could add more punch and pizzazz to my photos. And this really made a difference for me. With just three tweaks, your photos can look far more vibrant and dynamic, too.
I switched from a Pixel 9 Pro XL to a Pixel 10 Pro for 2 weeks — it’s a mixed bag
The Google Pixel 10 Pro offers real upgrades over the Pixel 9 Pro, but whether you actually care will depend on what you need out of your smartphone.
The secret sauce for happier hues
Let the colors off their leash
If your photos sometimes look a little flat, even when the scene in front of you is full of color, this setting can change that for you. It’s called Rich color in Photos, and once you turn it on, you’ll start noticing brighter reds, livelier greens, and overall more vibrant shots.
By default, most photos are saved in the standard sRGB color space. It’s widely supported, but it doesn’t capture the full range of colors your camera sensor is capable of. When you enable rich colors in photos, your Pixel switches to Display P3, a wider color gamut. In simpler terms, Display P3 can record around 25% more color information compared to sRGB. That means brighter tones look fuller, and subtle shades don’t get muted as easily.
Although in technical terms, Display P3 blends the DCI-P3 cinema color range with a standard white point and gamma curve, what matters for you is this: colors look richer, more accurate, as well as expressive.
There are three things to keep in mind:
- You won’t see the full effect in the camera preview before taking the shot.
- Not every app or platform fully supports Display P3 yet, so some images may still appear like standard sRGB when shared.
- The Display P3 format is available on Google Pixel 8 and later phones, so if you’re using an older Pixel, this setting might not be available.
That said, when viewed on compatible screens (including your Pixel’s display), the difference is palpable. So, to turn on rich color in photos, follow these steps:
- Open the Camera app on your Pixel device.
- Tap the Settings icon in the bottom corner.
- Select More Settings (three-dot menu).
- Scroll down and look for the Photos tab.
- Find Rich color in Photos and toggle it on.
That’s it. From now on, your photos will carry more depth and vibrancy, especially in scenes of sunsets, greenery, or colorful backgrounds. It will definitely give your shots an extra punch they sometimes miss.
Capture scenes as your eyes remember them
Make bright days brighter the right way
When we take a photo on our phones, the scene in front of us often feels richer than what ends up in the gallery. That gap between what your eyes see and what your camera captures can be disappointing, especially when it was a moment you were genuinely excited to photograph. That is where Ultra HDR on the Google Pixel 8 and newer Pixel devices makes a difference.
Ultra HDR intelligently boosts highlights while preserving details in the shadows. The pictures come out with stronger contrast, better depth, and more vibrant colors without blowing out brighter areas or crushing darker tones. On HDR-compatible displays, including newer Pixel screens, these photos significantly look brighter and more dynamic.
To enable this setting on your Pixel device, follow these steps:
- Open the Camera app on your Pixel.
- Tap the Settings icon in the bottom-left corner.
- Head to the three-dot icon menu.
- Under the Photos section, look for Ultra HDR and toggle it on.
Once enabled, you’ll notice the difference, especially in scenes with strong sunlight, colorful outfits, or bright backgrounds. Highlights look brighter, colors feel more expressive, and your photos gain the depth that sometimes goes missing.
Call the shots
Trust the photographer in you
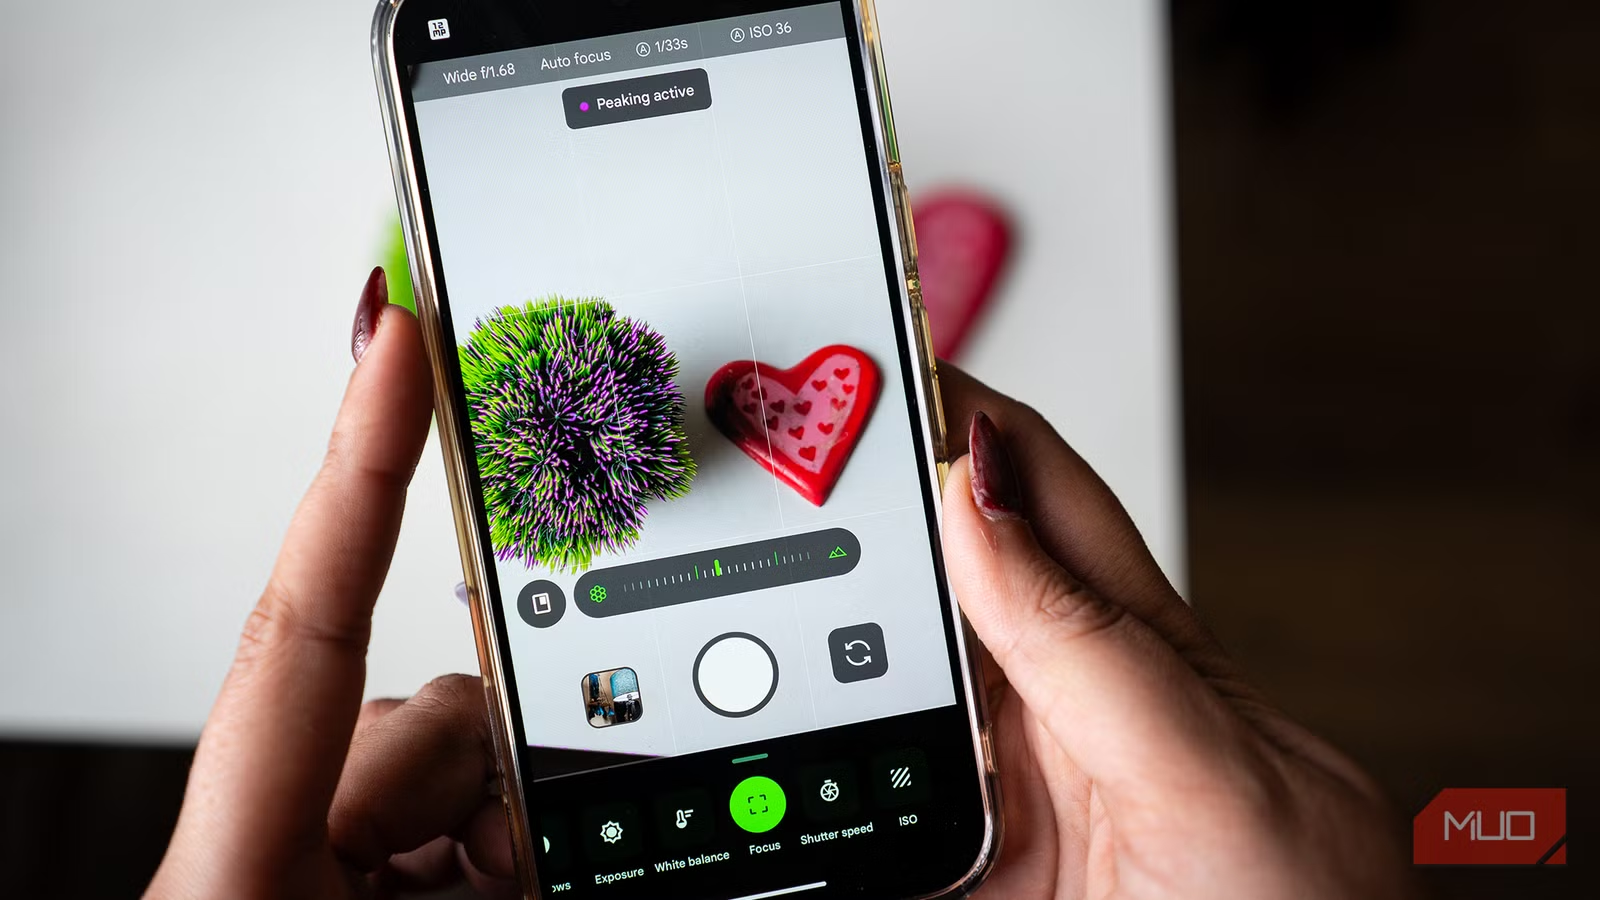
If you’d rather not rely entirely on automatic processing, you can take full control of how your photos turn out. That’s where the RAW/JPEG control setting comes in. When you enable this option on your Pixel, the camera saves two versions of every photo: a regular JPEG (the ready-to-share version) and a RAW file. The JPEG is processed instantly with Google’s HDR and color tuning. The RAW file, on the other hand, preserves much more of the original sensor data. It preserves more detail in highlights and shadows, gives you greater flexibility in adjusting white balance, and enables better noise reduction during editing. So, if you enjoy fine-tuning your photos or want maximum control over the final look, RAW is the smarter choice.
There are a couple of trade-offs, though. RAW files take up significantly more storage space, and they aren’t automatically backed up everywhere by default.
To enable RAW/JPEG control on your Pixel, follow these steps:
- Start by opening the Camera app.
- Tap the Settings icon in the bottom-left corner.
- Select the three-dot icon to open More Settings.
- Scroll to the Photos section and toggle on RAW/JPEG control.
Once enabled, every photo you take will include a RAW file alongside the standard JPEG. This puts you firmly in control of how your final image looks.

A better photo is one toggle away
I’m constantly changing things on my Pixel to get more out of it. Whether it’s adjusting the camera settings, disabling features that aren’t good for my phone, or enabling options that improve performance, I like making sure the phone works the way I want it to. And I have seen a surprisingly visible difference. The same happened with the camera app. A few simple tweaks improved how my photos look, with better colors, more depth and greater control when I need it.
If you’ve been feeling like your photos could look a little more vibrant, a little more dynamic, or just closer to what you imagined, this is your sign to explore these settings.
